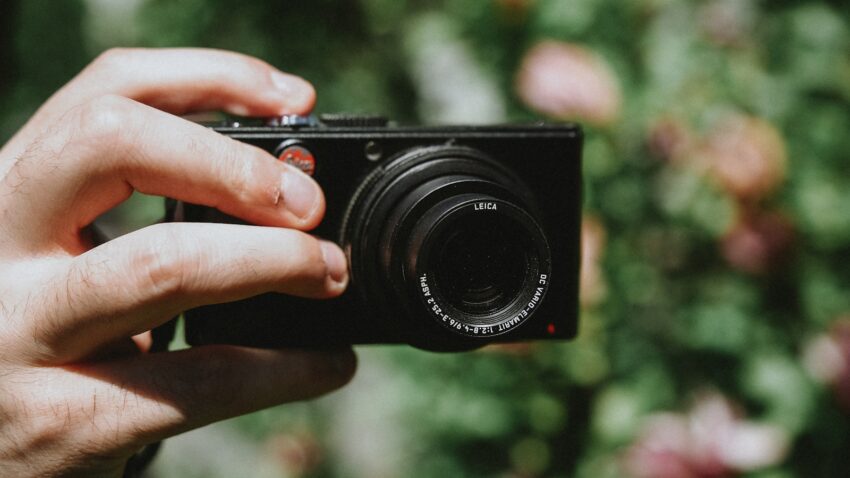
Attention all makers and creators! Let’s face it, when it comes to selling your handmade treasures, a picture is worth a thousand sales. Getting the perfect shot of your product can make all the difference in attracting potential customers and setting your goods apart from the rest. So, if you’re ready to elevate your handmade goods to new heights, it’s time to dive into the world of product photography. Get ready to unleash your creativity and capture the essence of your beautiful creations, because we’re about to dive into the art of showcasing your handmade goods through the lens.
Table of Contents
- Illuminate Your Craft: Mastering the Art of Natural Light
- The Power of Perspective: Finding Fresh Angles for Your Handmade Treasures
- Backdrop Magic: Selecting the Perfect Scene for Your Creations
- Prop It Up: Styling Your Products with Complementary Items
- Focused on Perfection: Sharpening Your Product’s Best Features
- Color Stories: Picking Palettes that Pop for Your Photos
- Space to Breathe: The Impact of Negative Space in Composition
- Close-Up Confidence: Capturing the Intricate Details of Your Work
- Setting the Mood: Using Shadows and Highlights to Convey Emotion
- Timeless Over Trendy: Ensuring Your Photos Stay Classic
- Questions & Answers For Product Photography for Handmade Goods
- Insights and Conclusions
Illuminate Your Craft: Mastering the Art of Natural Light
When it comes to showcasing your handmade goods, product photography is essential for capturing the true essence of your craft. The right lighting can make all the difference in bringing out the natural beauty and intricate details of your products. With the art of natural light, you can elevate your product photography to a professional level and truly mesmerize your audience.
Here are some tips and techniques to master the art of natural light product photography for your handmade goods:
Step 1: Find the perfect light source
Look for a well-lit area with soft, diffused natural light. A north facing window or a shady outdoor spot can provide beautiful, even light for photographing your handmade goods. Avoid harsh direct sunlight, as it can create harsh shadows and wash out the colors of your products.
Step 2: Set up your shooting space
Create a dedicated space for your product photography with a clean, neutral backdrop to allow your handmade goods to take center stage. A simple white or light gray background can help your products pop and draw the viewer’s attention to the details.
Step 3: Experiment with angles and compositions
Play around with different angles and compositions to showcase the unique features of your handmade goods. Capture close-up shots to highlight intricate details, and experiment with different props and styling to create a visually captivating story around your products.
The Power of Perspective: Finding Fresh Angles for Your Handmade Treasures
When it comes to showcasing your handmade goods, product photography plays a crucial role in capturing the attention of potential customers. Your product photos are the first impression that people will have of your creations, and having compelling images can make all the difference in standing out in a crowded market.
Here are some tips for capturing the best images of your handmade treasures:
First and foremost, lighting is key when it comes to product photography. Natural light is the best option for capturing the true colors and details of your handmade goods. Find a well-lit area near a window, or take your products outside on a sunny day to get the best results. Experiment with different angles and times of day to see what works best for your specific items.
Another important aspect of product photography is staging. Set up a backdrop that complements your handmade goods and helps them to stand out. Whether it’s a simple, clean background or a styled scene that tells a story, the backdrop should enhance your products without overwhelming them. Consider using props such as vintage fabrics, greenery, or other items that complement your creations.
Backdrop Magic: Selecting the Perfect Scene for Your Creations
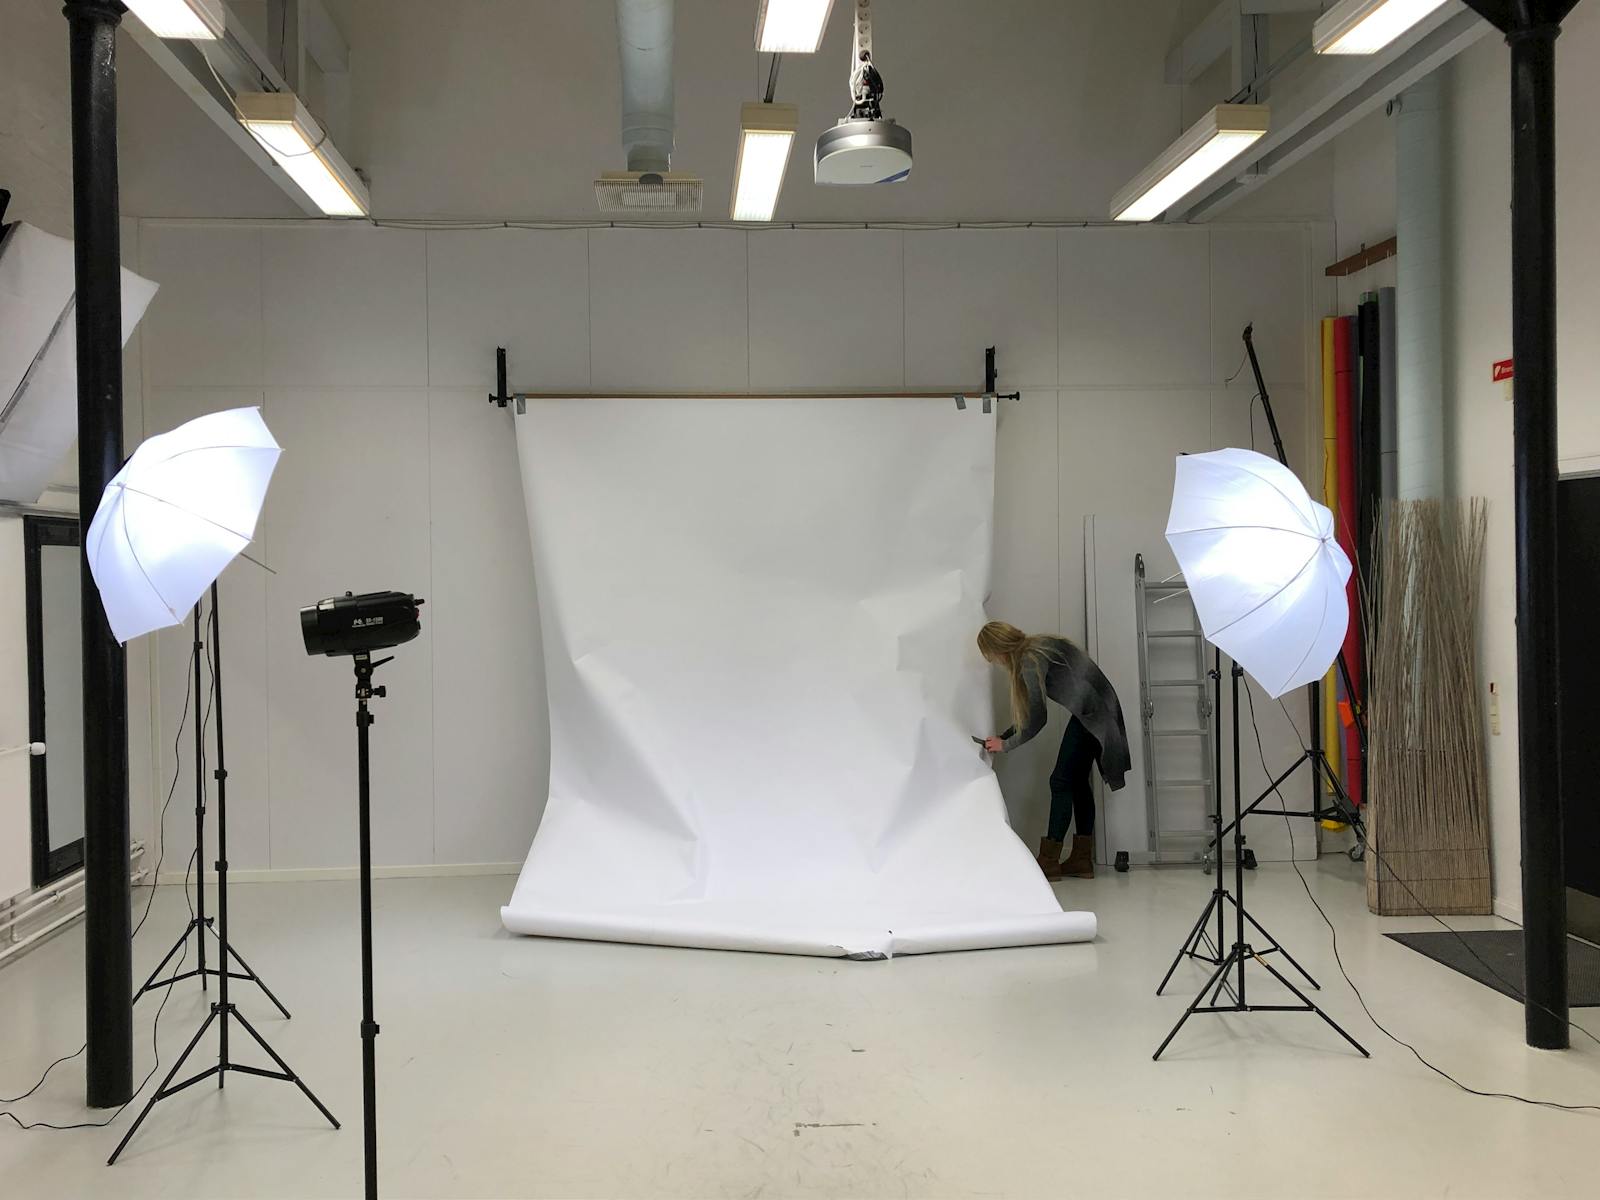
When it comes to showcasing your beautiful handmade products, the backdrop plays a crucial role in setting the scene and capturing the essence of your creations. The right backdrop can bring out the colors, textures, and details of your products, making them truly shine in your product photography.
Here are some key tips for selecting the perfect scene for your handmade goods:
Consider Your Brand Aesthetic
When choosing a backdrop for your product photography, it’s important to consider the overall aesthetic of your brand. Do you want a modern and sleek look, or something more rustic and natural? Your backdrop should align with your brand’s identity and appeal to your target audience. Keep in mind that consistency in your backdrop choices will help create a cohesive look across all your product photography.
Utilize Textures and Patterns
Textures and patterns can add depth and visual interest to your product photography. Consider using backdrops with subtle textures or elegant patterns that complement your handmade goods. For example, a weathered wood backdrop can enhance the rustic charm of handmade wooden products, while a soft fabric backdrop can add a touch of elegance to delicate jewelry or textiles.
Experiment with Lighting and Props
Lighting and props can also play a significant role in creating a compelling backdrop for your product photography. Play around with different lighting setups to see how they interact with your chosen backdrop, and consider integrating props that further enhance the mood and storytelling of your handmade goods. Just remember to keep the focus on your products and not let the backdrop or props overpower them.
Selecting the perfect backdrop for your product photography is an essential part of showcasing your handmade goods in the best possible light. By considering your brand aesthetic, utilizing textures and patterns, and experimenting with lighting and props, you can create visually stunning images that truly capture the essence of your creations. Remember, the backdrop is not just a background, but a vital element in telling the story of your handmade goods.
Prop It Up: Styling Your Products with Complementary Items

When it comes to product photography for handmade goods, the right styling can make all the difference. By using complementary items to showcase your products, you can create visually appealing images that are sure to catch the eye of potential customers.
Here are a few tips for styling your products with complementary items:
- Choose items that enhance your product: Look for props that bring out the best in your handmade goods. For example, if you sell artisanal candles, consider pairing them with a vintage matchbox or a cozy blanket to create a warm and inviting scene.
- Keep it simple: While it can be tempting to go overboard with props, it’s important to remember that the focus should always be on your product. Stick to a few key props that complement your goods without overpowering them.
- Consider the background: Think about the backdrop for your product photography. A neutral background can help your handmade goods stand out, while a textured backdrop can add visual interest.
By following these tips, you can create product photography that not only showcases your handmade goods, but also tells a story and creates an emotional connection with your potential customers.
Focused on Perfection: Sharpening Your Product’s Best Features
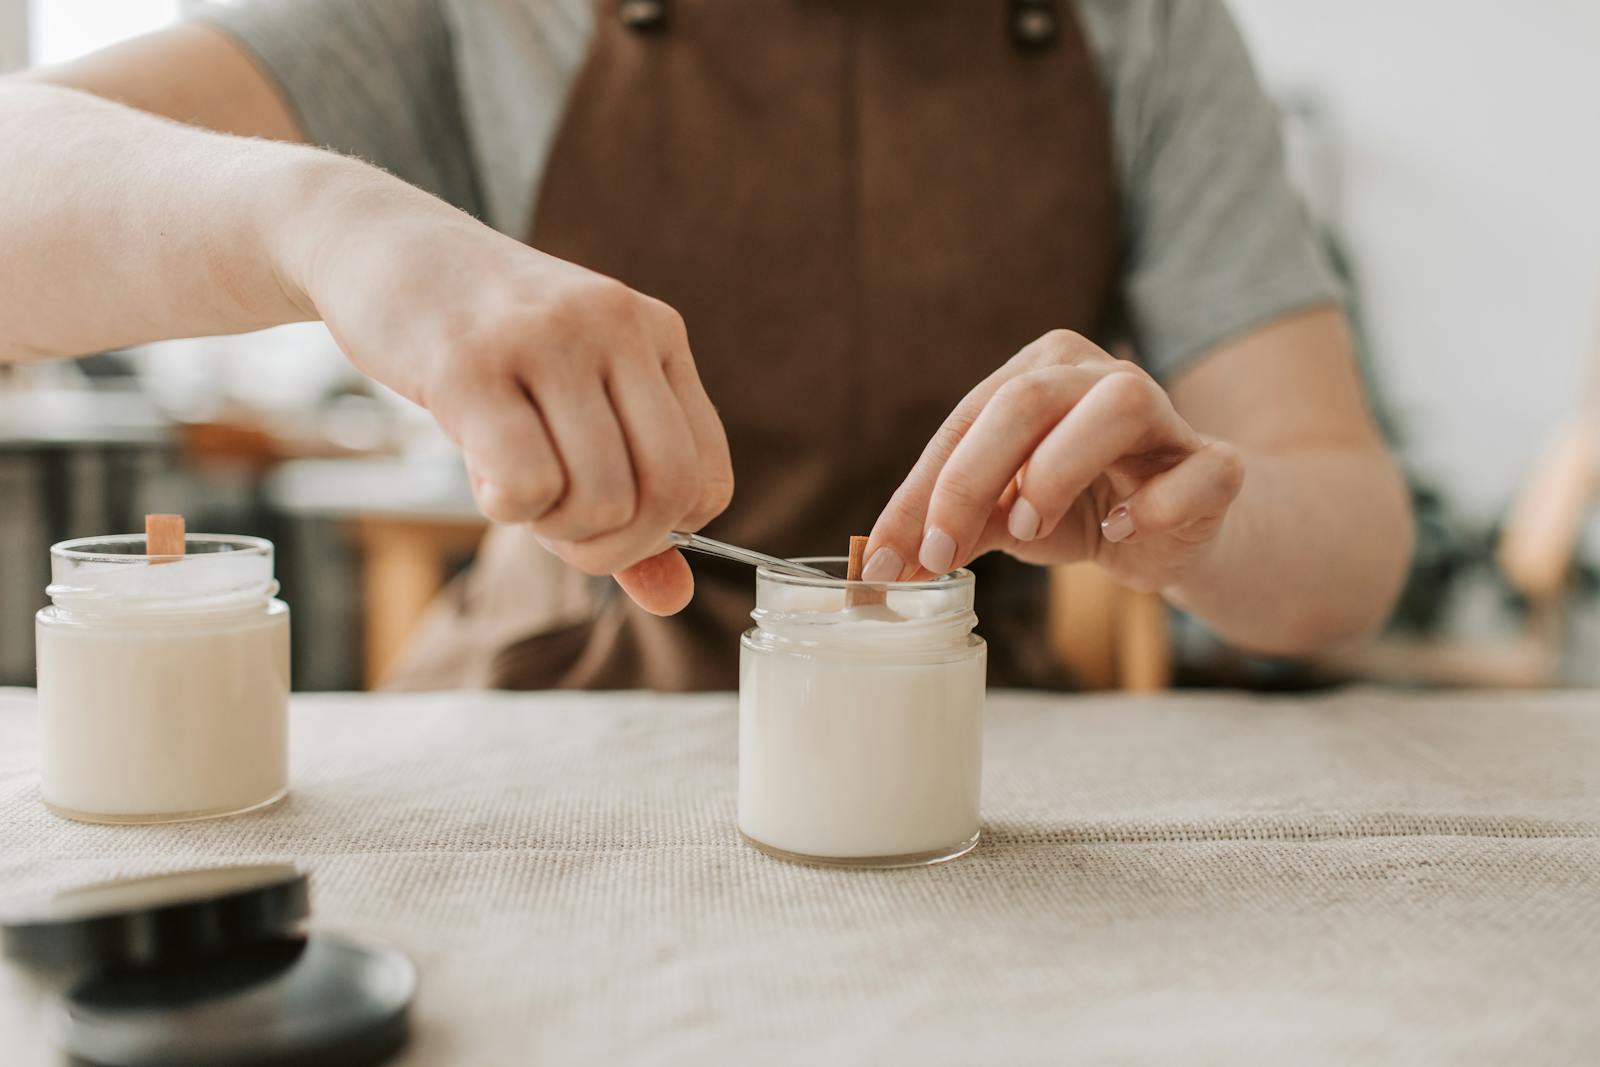
When it comes to showcasing your handmade goods, stunning product photography can make all the difference. Capturing the best features of your products is essential for drawing in potential customers and highlighting the unique craftsmanship that goes into each piece. Here are some tips for sharpening your product’s best features through the art of photography:
First and foremost, lighting is key when it comes to product photography. Natural light can bring out the true colors and textures of your handmade goods, so consider setting up your photography space near a window or even take your products outdoors for some beautiful natural light shots. Additionally, investing in a simple lighting setup can also help you achieve the perfect lighting conditions for consistently great images.
Another important aspect of product photography for handmade goods is styling. Choosing the right props and backgrounds can complement your products and create a cohesive visual story. Consider using props that align with the aesthetic of your handmade goods, such as rustic wooden surfaces for a warm and cozy feel, or sleek, modern props for a more minimalist look. The goal here is to create a visually appealing scene that enhances the beauty of your handmade items.
Color Stories: Picking Palettes that Pop for Your Photos
When it comes to product photography for handmade goods, choosing the right color palette can make all the difference in making your photos stand out. The colors you pick can help convey the mood and style of your products, as well as capture the attention of potential customers.
Here are some tips for picking palettes that will make your product photography pop:
- Consider your brand: Think about the overall aesthetic of your handmade goods and how you want them to be perceived. Whether you’re going for a rustic, earthy look or a modern, sleek vibe, your color palette should reflect the personality of your brand.
- Look for inspiration: Take a cue from nature, art, or even fashion trends to find colors that complement your products. Websites like Pantone can also provide color palette inspiration for your product photography.
- Keep it cohesive: When choosing colors for your product photography, aim for a cohesive palette that works well together. This will help create a sense of harmony in your photos and make your products appear more visually appealing.
By following these tips, you can create product photography for your handmade goods that is not only visually stunning but also effectively communicates the essence of your brand.
Space to Breathe: The Impact of Negative Space in Composition
When it comes to showcasing your handmade goods, product photography plays a crucial role in making your items look professional and appealing to potential customers. One of the key elements to consider in product photography is the use of negative space in composition. This often-overlooked aspect can have a significant impact on how your products are perceived. Let’s explore the importance of negative space and how it can be utilized to create stunning product photography for your handmade goods.
The Impact of Negative Space
Negative space, also known as white space, refers to the empty areas surrounding the main subject of a photograph. When used effectively, negative space can draw attention to the product itself, creating a clean and visually pleasing composition. In the context of product photography for handmade goods, negative space can help highlight the unique features, textures, and details of your items, making them stand out and capturing the viewer’s attention.
Tips for Using Negative Space in Composition
- Keep it simple: Avoid cluttering the background or surrounding areas with distracting elements. Embrace simplicity to direct the focus onto the product.
- Play with angles: Experiment with different angles and perspectives to incorporate negative space in interesting ways, enhancing the visual appeal of your products.
- Utilize natural light: Position your handmade goods in well-lit areas to create a subtle interplay of light and shadow, further accentuating the use of negative space.
Creating Stunning Product Photography
By incorporating negative space in composition, you can elevate the visual appeal of your handmade goods in product photography. Embrace the use of negative space to create clean, impactful images that showcase the unique qualities of your products. Experiment with different approaches and find a style that best complements the aesthetic of your handmade goods, ultimately enhancing their appeal to potential customers.
Close-Up Confidence: Capturing the Intricate Details of Your Work
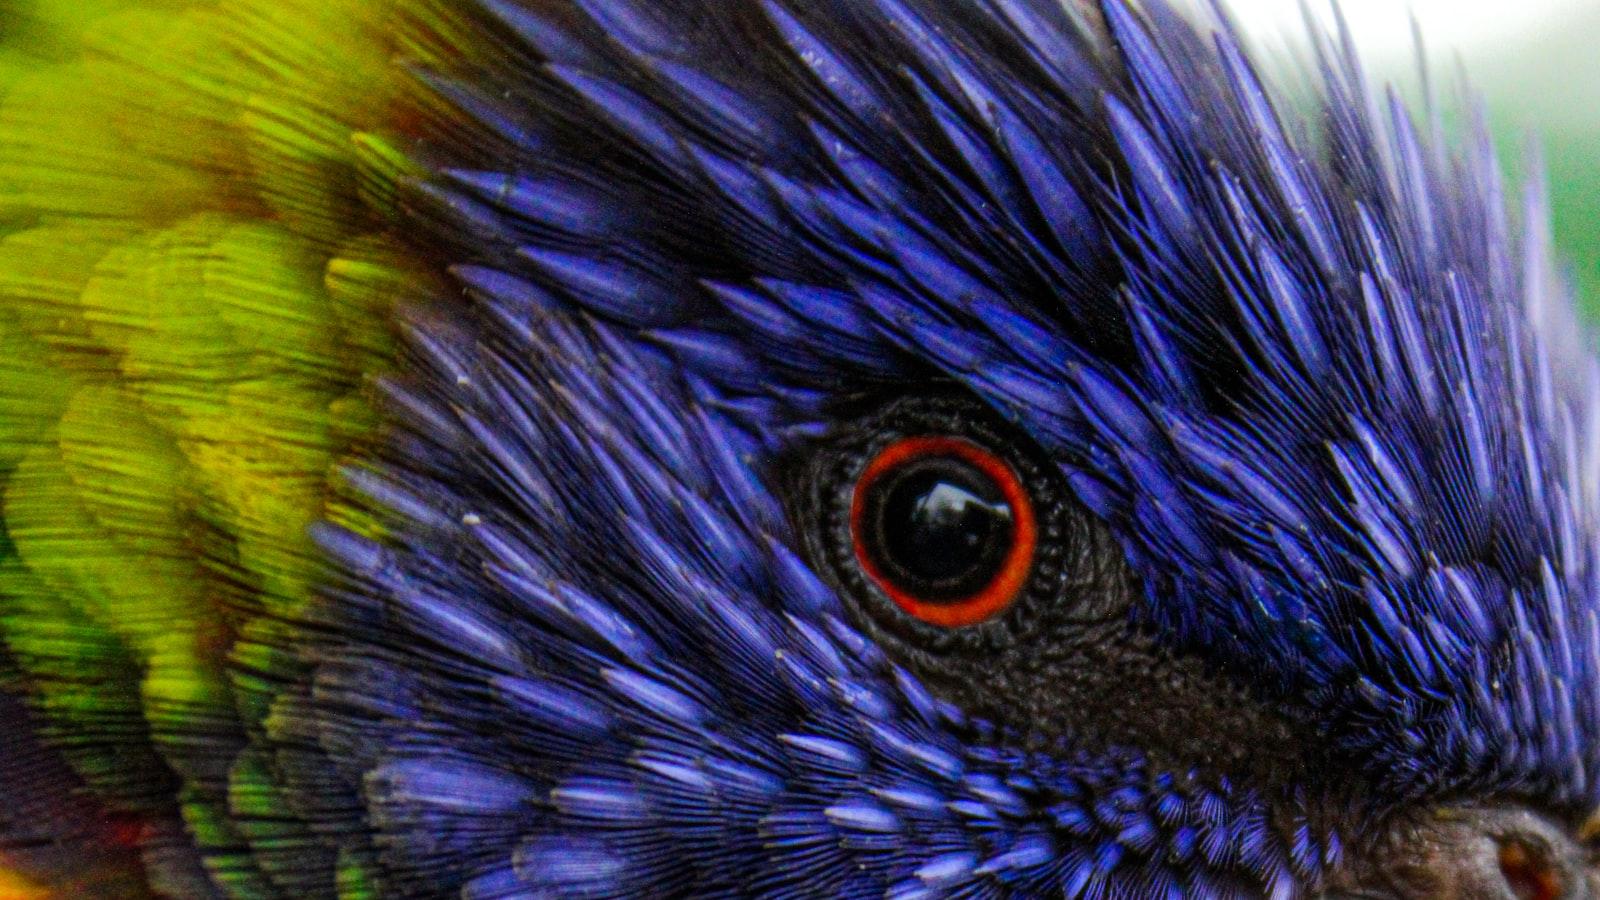
If you create handmade goods, you know how important it is to showcase the intricate details of your work. Product photography plays a vital role in capturing the beauty and craftsmanship of your handmade items. With the right techniques, you can convey the quality and uniqueness of your products, attracting potential customers and setting yourself apart from the competition.
When it comes to product photography for handmade goods, close-up shots are essential for highlighting the fine details. Whether it’s the stitching on a leather bag, the delicate brushstrokes on a hand-painted vase, or the texture of a knitted scarf, close-up photography allows customers to truly appreciate the artistry and care that go into your creations. By showcasing these details, you can build trust and confidence in your brand and increase sales.
One effective way to achieve stunning close-up product photography is by using a macro lens. This specialized lens is designed to capture small details with incredible clarity and precision. Additionally, utilizing natural lighting can enhance the texture and colors of your handmade goods, creating a warm and inviting atmosphere in your photographs. Consider investing in a tripod to ensure stability and sharpness in your close-up shots, and don’t be afraid to experiment with different angles and compositions to find the most captivating perspectives for your product photography.
Setting the Mood: Using Shadows and Highlights to Convey Emotion
When it comes to product photography for handmade goods, creating the right atmosphere is key to capturing the essence of the item and conveying its emotional appeal. One powerful way to achieve this is through the use of shadows and highlights. By skillfully playing with light and darkness, you can evoke a certain mood and draw the viewer in, making them feel a deeper connection to the product.
Here are some tips and tricks for using shadows and highlights to set the mood in your product photography:
- Understand the Emotion: Before you start shooting, take some time to think about the emotion you want to convey with your handmade goods. Whether it’s warmth, nostalgia, or whimsy, having a clear vision of the feeling you want to evoke will guide your use of shadows and highlights.
- Experiment with Lighting: Try positioning your lights at different angles and distances to see how the shadows fall on your product. Soft, diffused light can create a gentle, romantic mood, while strong, directional light can add drama and intensity.
- Use Props and Backgrounds: Don’t be afraid to incorporate props and backgrounds that complement the mood you’re aiming for. For example, a vintage lace backdrop can enhance the nostalgia of a handmade crochet item, while a rustic wooden surface can add a cozy, natural feel.
By using shadows and highlights to set the mood in your product photography for handmade goods, you can create a visual story that resonates with your audience on a deeper level. Don’t be afraid to experiment and let your creativity shine through - it’s the personal touch that makes handmade items truly special.
Timeless Over Trendy: Ensuring Your Photos Stay Classic

When it comes to product photography for handmade goods, it’s important to focus on creating images that will stand the test of time. While trendy styles and editing techniques may come and go, classic and timeless photos will always be relevant. Here are some tips to ensure that your product photography for handmade goods stays classic:
1. Focus on natural lighting: Natural light can help bring out the best in your handmade products, and it creates a timeless look that won’t go out of style. Avoid harsh shadows and use diffusers or reflectors to achieve the perfect lighting for your photos.
2. Keep the background simple: Avoid using busy or trendy backgrounds that can distract from your handmade goods. Opt for neutral colors or plain backgrounds to give your products a classic and clean look.
3. Choose timeless props: If you use props in your product photography, make sure they are timeless and relevant to your handmade goods. Avoid trendy or seasonal props that may date your photos.
| Tip | Description |
|---|---|
| Focus on natural lighting | Natural light can help bring out the best in your handmade products, and it creates a timeless look that won’t go out of style. |
| Keep the background simple | Avoid using busy or trendy backgrounds that can distract from your handmade goods. Opt for neutral colors or plain backgrounds to give your products a classic and clean look. |
| Choose timeless props | If you use props in your product photography, make sure they are timeless and relevant to your handmade goods. |
Questions & Answers For Product Photography for Handmade Goods
How important is product photography for handmade goods?
Product photography is incredibly important for handmade goods because it is the first impression that potential customers will have of your product. It can make or break a sale, so it’s crucial to invest time and effort into creating high-quality, visually appealing images.
What are some key tips for capturing great product photos for handmade goods?
Start by choosing the right background and lighting to showcase your product in the best way possible. Then, make sure to use a high-quality camera and take multiple shots from different angles. Lastly, don’t be afraid to get creative and add some props or lifestyle elements to help tell the story of your product.
How can I enhance the appeal of my handmade goods through photography?
You can enhance the appeal of your handmade goods through photography by focusing on the unique details and craftsmanship of your products. Showcasing the texture, colors, and overall aesthetic of your items can really make them stand out and draw in potential customers.
What are some common mistakes to avoid when photographing handmade goods?
One common mistake to avoid is using poor lighting, as this can make your product appear dull and unappealing. Another mistake is not utilizing different angles and compositions to show off the features of your product.
What are some essential tools and equipment for product photography?
Some essential tools and equipment for product photography include a high-quality camera, various backdrops, a tripod, lighting equipment, and props. These items can help you create professional-looking images that make your handmade goods shine.
How can I create a cohesive and professional look for my product photos?
Creating a cohesive and professional look for your product photos starts with maintaining consistent lighting, background, and styling for all of your images. This will help to establish a clear brand identity and make your products instantly recognizable to your audience.
What are some options for editing and enhancing product photos?
There are many editing and enhancing options available, from basic software like Photoshop and Lightroom to more user-friendly mobile apps like VSCO and Snapseed. Experiment with different tools to find the features that work best for your product photography.
How do I optimize my product photos for online platforms and social media?
To optimize your product photos for online platforms and social media, make sure to use high-resolution images that show off your products in the best possible light. Additionally, consider incorporating lifestyle shots and close-up details to engage your audience.
What role does storytelling play in product photography for handmade goods?
Storytelling is crucial in product photography for handmade goods because it helps create an emotional connection with potential customers. By showcasing the process, inspiration, and unique qualities of your handmade products, you can captivate your audience and inspire them to make a purchase.
Where can I find inspiration for product photography for handmade goods?
You can find inspiration for product photography for handmade goods by exploring social media platforms like Instagram and Pinterest, as well as by studying the work of other successful handmade artisans and product photographers. Don’t be afraid to experiment and put your own creative spin on things!
Insights and Conclusions
So there you have it, the key tips and tricks for taking stunning product photos of your handmade goods. By following these simple guidelines, you can showcase your creations in the best possible light and attract more customers to your online shop or craft fair booth.
Remember, product photography is all about capturing the essence and details of your handmade items, so don’t be afraid to get creative and experiment with different angles, backgrounds, and lighting. With a little practice and patience, you’ll be able to master the art of product photography and take your handmade business to the next level.
So grab your camera, gather your best creations, and start snapping those beautiful product photos. And don’t forget to have fun and let your passion for your craft shine through in every shot. Happy photographing!

